


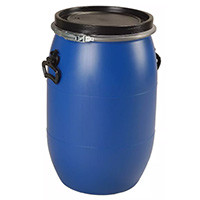


IBC Tank Under Pressure: Which Pump or Pressure Booster to Choose?
💧 THE PROBLEM: GRAVITY IS ALMOST NEVER ENOUGH
An IBC tank placed on the ground delivers only about 0.1 bar per meter of height below the outlet. Concretely, if your tank is placed directly on the ground, the pressure at the outlet is almost zero. Even raised by one meter, you only get about 0.1 bar – largely insufficient for most uses.
This low pressure is only suitable for filling a watering can or supplying a micro drip irrigation system at very low pressure. As soon as you want to use a spray gun, a rotary sprinkler, supply a high-pressure washer or connect several water points, you absolutely need mechanical pressure.
The finding is clear: to fully benefit from your 1000 liters of rainwater and obtain a decent flow rate, adding a pump or pressure booster becomes essential. The question is no longer whether you need one, but which solution to choose according to your use and budget.
🔧 THE 3 SOLUTION FAMILIES
Faced with the lack of pressure from your IBC tank, three main approaches are available to you. The first consists of optimizing gravity by raising your tank further, but this solution remains limited. The second option relies on a surface pump, ideal for most domestic irrigation uses. Finally, pressure boosters and automatic stations offer maximum comfort with on-demand operation.
Each solution has its advantages and limitations depending on your configuration, use and installation constraints. A surface pump will be perfect for manual or automated irrigation, while a pressure booster will be necessary if you want to automatically supply several water points or equip a technical room.
| Solution | Pressure | Ideal use | Automatic? | Avoid if |
|---|---|---|---|---|
| Gravity (raised tank) | ~0.1 bar/m | Micro drip irrigation, filling | No | Hose, jet, sprinkler, pressure washer |
| Surface pump | ~2–4 bar | Hose irrigation + sprinkler, transfer | Manual (except with pressure switch) | Suction > 7–8 m |
| Submersible pump | Depending on model | Large volumes, deep/buried tank | Manual | Standard IBC (impractical) |
| Pressure booster / auto station | ~2–4 bar on demand | "I turn on the tap → pressure", room supply | Yes | Very occasional use / small budget |
📏 HOW TO SIZE ACCORDING TO YOUR NEEDS
Sizing your installation is done in three key steps: define your main use, determine the required flow rate and pressure, then check the available suction height. This methodical approach will help you avoid unpleasant surprises and ensure optimal operation of your system.
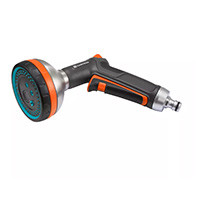
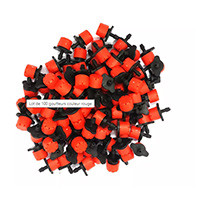
For drip irrigation, plan about 1 to 1.5 bar at the pump outlet, but don't forget to install a pressure reducer as most drip irrigation systems operate at 0.5-1 bar maximum. Without a reducer, the fittings risk disconnecting under pressure. Hose irrigation with spray gun or rotary sprinkler requires 2 to 3 bar to obtain an effective jet and correct range.
If you want to supply a high-pressure washer, remember that it has its own integrated pump: your installation must therefore provide sufficient supply flow (often 8 to 15 L/min) rather than high pressure. For supplying a room (WC, washing machine, water points), an automatic pressure booster delivering about 3 bar is essential to guarantee comfort of use comparable to mains water.
Critical point: suction height
A self-priming surface pump can suction a maximum of 7 to 8 meters in height. Beyond that, you need to rethink the location or opt for a submersible pump. Measure the vertical distance between the water level in your tank and the pump axis to check feasibility.
🔩 INSTALLATION AND ESSENTIAL ACCESSORIES
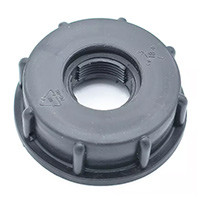
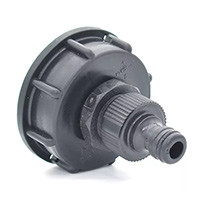
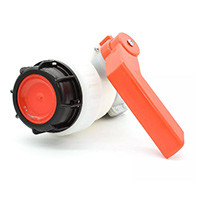
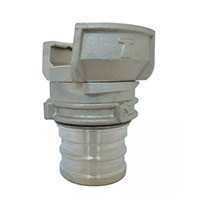
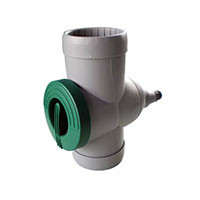
A successful installation starts with choosing the right fittings for your tank outlet. Most IBC tanks have a standard S60x6 outlet, which connects easily with appropriate adapters. Always install a shut-off valve just after the tank outlet to be able to isolate the circuit during maintenance interventions.
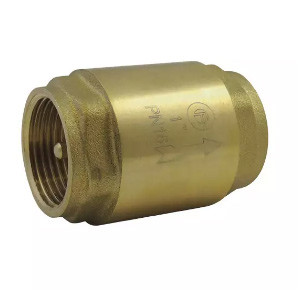
The check valve is the most critical element of your installation. Placed on the suction line, it maintains pump priming and prevents water from flowing back into the tank at each stop. Without a check valve, your pump would lose its prime and you would have to manually re-prime it with each use. Also install a strainer filter to protect the impeller from deposits and particles present in rainwater.
At the pump outlet, a pressure tank will considerably improve your installation's performance. This tank smooths pressure, avoids repeated starts that prematurely wear the pump, and maintains stable pressure even during short uses. Complete the installation with a pressure gauge to monitor pressure, and provide a pressure reducer if you're supplying a drip irrigation system.
⚠️ COMMON MISTAKES AND SOLUTION RECAP
The most common mistake is placing the pump too high or too far from the tank, thus exceeding the maximum suction height. A pump that "sucks air" cannot function properly and risks being damaged quickly. Second common pitfall: forgetting the check valve, which forces you to re-prime the pump with each use and eventually discourages the user.
The absence of a filter also represents a major risk for your equipment's longevity. Rainwater always contains particles and deposits that can clog or damage the pump impeller. Finally, installing a pressure booster without a pressure tank causes incessant starts ("clicking") that quickly wear the motor and create significant noise pollution.
For winter maintenance, remember to completely purge your installation before the first frosts. A simple drain valve at the lowest point of the circuit facilitates this operation. Also clean the strainer filter at the beginning of the season to optimize your pump's performance. With minimal maintenance and careful installation, your pressurization system will efficiently accompany you for many years to fully utilize your rainwater reserve.
Share this content